
 Pin it
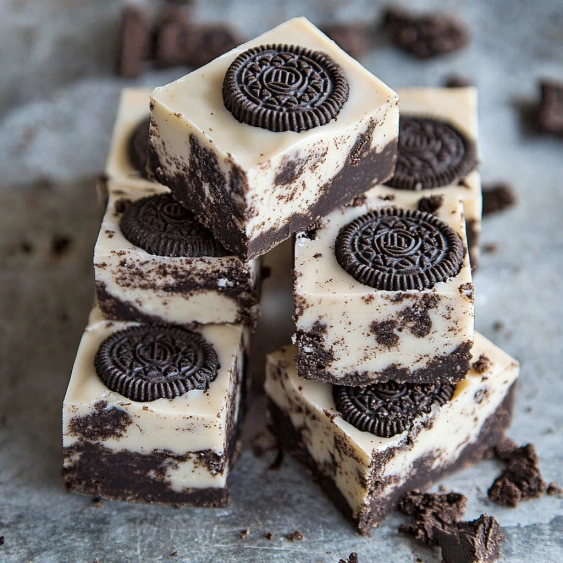
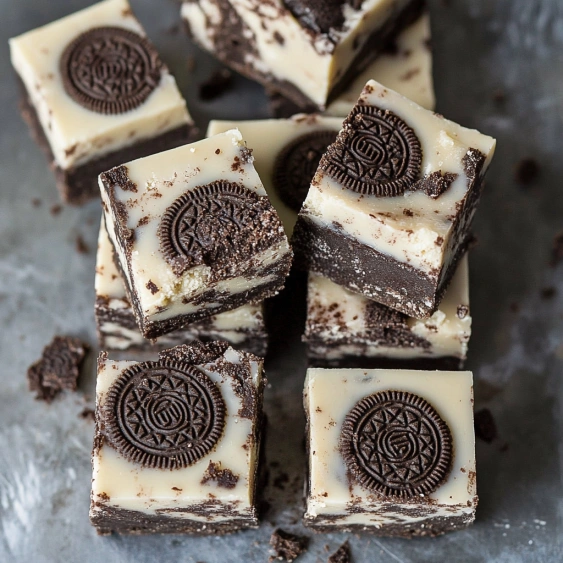
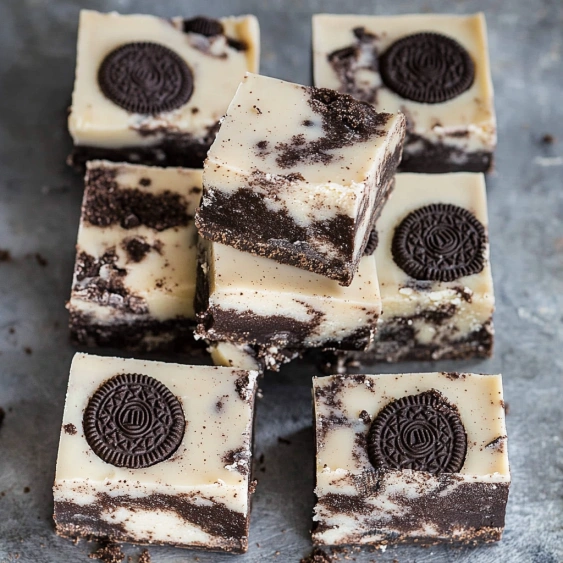
This indulgent Oreo fudge recipe combines the irresistible crunch of Oreo cookies with velvety white chocolate for a decadent treat that never fails to impress at gatherings. The contrast between the smooth fudge and cookie pieces creates a perfect texture balance that chocolate lovers crave.
I first made this fudge for a holiday cookie exchange and it disappeared faster than any other dessert. Now it's become my signature contribution to potlucks and family gatherings since it's so simple yet always gets rave reviews.
Ingredients
- One 14 oz can sweetened condensed milk: Provides the perfect creamy sweetness without needing additional sugar
- Two and three quarter cups white chocolate chips: Form the fudge base; look for high quality chips with cocoa butter for best results
- Ten chopped Oreos plus extra for topping: Add the iconic cookies and cream flavor; use Double Stuf for extra creaminess
- One eighth teaspoon salt: Balances the sweetness and enhances the chocolate flavor
- Half teaspoon vanilla extract: Adds depth and rounds out the flavor profile
Step-by-Step Instructions
- Prepare the Pan:
- Line your 8 or 9 inch square baking dish with aluminum foil, ensuring the foil extends up all sides, creating handles for easy removal later. Smooth out any major wrinkles for a cleaner finish on your fudge.
- Combine Base Ingredients:
- Place sweetened condensed milk and white chocolate chips in a microwave-safe glass bowl. Stir them together with a silicone spatula until well combined before heating. The preliminary mixing helps promote even melting.
- Microwave Carefully:
- Heat the mixture on full power for exactly one minute. This might not seem like enough time, but trust the process. Remove from microwave even if chips still look solid, as overmicrowaving will ruin the texture completely.
- Stir Until Smooth:
- Continuously stir the mixture until all white chocolate chips melt and incorporate perfectly. This might take 2 to 3 minutes of stirring. The residual heat will continue melting the chips while preventing scorching.
- Add Mix Ins:
- Fold in the chopped Oreos, salt, and vanilla extract with a gentle hand. Mix just until evenly distributed, keeping some Oreo pieces visible throughout for that perfect cookies and cream appearance.
- Set and Finish:
- Transfer the mixture to your prepared pan, using a spatula to spread into an even layer. Press additional broken Oreo pieces into the top for visual appeal. Allow to set at room temperature for at least 4 hours, though overnight gives the best texture.
- Cut and Serve:
- Once completely set, remove the fudge using the foil handles. Place on a cutting board and slice into squares with a sharp knife wiped clean between cuts for the neatest appearance.
 Pin it
This fudge reminds me of the cookies and cream milkshakes my grandmother would make during summer visits. The combination of vanilla and chocolate has always been my comfort food guilty pleasure, and transforming it into an easy fudge recipe feels like preserving those sweet memories.
Storage Secrets
This Oreo fudge maintains its best texture and flavor when stored in an airtight container at room temperature. Refrigeration tends to make the fudge too firm and can dull the flavor nuances. For gifting, cut into squares and place in parchment-lined tins or boxes. The fudge will stay fresh for up to two weeks, though in my house, it rarely lasts more than a couple of days before disappearing.
Troubleshooting Tips
The most common issue with this fudge is overheating the white chocolate mixture. If your fudge turns out grainy or crumbly, it likely means the chocolate was scorched. Always err on the side of less microwave time and more stirring. If your fudge seems too soft after the setting period, place it in the refrigerator for 30 minutes before cutting. For cleaner cuts, wipe your knife with a warm, damp cloth between slices.
Creative Variations
While the classic Oreo version is fantastic, this versatile fudge base welcomes customization. Try mint Oreos with a drop of peppermint extract for a holiday version, or use golden Oreos with a bit of lemon zest for a summery twist. You can also swap in other cookies entirely. Biscoff cookies create a warm spiced variation, while graham crackers with mini marshmallows make a s'mores-inspired treat. The possibilities are endless once you master the basic technique.
 Pin it
Frequently Asked Questions
- → How long does this Oreo fudge stay fresh?
When stored in an airtight container at room temperature, this Oreo fudge stays fresh for 1-2 weeks. There's no need to refrigerate it, though you can if you prefer a firmer texture.
- → Can I substitute milk chocolate for the white chocolate chips?
Yes, you can substitute milk chocolate chips for the white chocolate, creating a different but equally delicious chocolate-on-chocolate Oreo fudge variation. Just follow the same measurements and instructions.
- → Why is my fudge turning out crumbly?
Crumbly fudge typically results from overheating the chocolate. Be careful to microwave only for the recommended 1 minute, then stir until completely melted. Over-microwaving can scorch the chocolate and create a dry, crumbly texture.
- → Can I add other mix-ins besides Oreos?
Absolutely! This fudge base works well with many mix-ins. Try crushed peppermints, chopped nuts, mini chocolate chips, other cookie varieties, or even colorful sprinkles for different occasions.
- → Do I need a candy thermometer to make this fudge?
No, you don't need a candy thermometer for this simplified fudge recipe. The combination of sweetened condensed milk and chocolate chips creates the perfect fudge consistency without temperature monitoring.
- → Can I freeze this Oreo fudge?
Yes, this fudge freezes well. Cut into squares, place in an airtight container with parchment paper between layers, and freeze for up to 3 months. Thaw at room temperature for about 30 minutes before serving.