
 Pin it
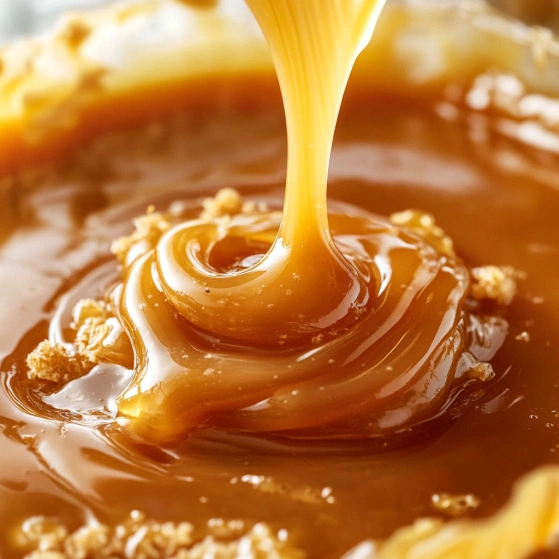
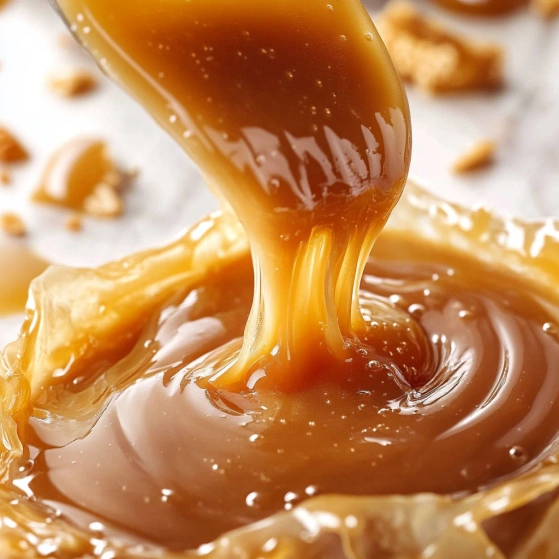
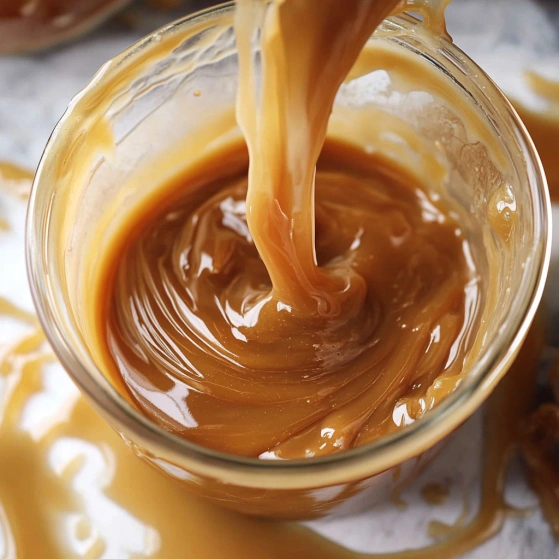
This buttery evaporated milk caramel sauce transforms ordinary desserts into extraordinary treats with just six ingredients and 15 minutes of your time. I discovered this foolproof recipe years ago when I needed a last-minute topping for a birthday dessert, and it has saved countless gatherings since then.
I initially created this sauce when my daughter requested something special for her ice cream sundae bar birthday party. The rich, buttery flavor was such a hit that guests were literally eating it by the spoonful straight from the jar.
Ingredients
- Light brown sugar: Provides a deeper flavor than white sugar and creates that classic caramel taste
- Water: Helps dissolve the sugar evenly preventing crystallization
- Unsalted butter: Adds richness and allows you to control the saltiness separately
- Evaporated milk: Creates the perfect creamy texture without being too heavy like cream
- Vanilla extract: Enhances the caramel flavor with warm aromatic notes
- Salt: Balances the sweetness and transforms it into salted caramel if you add more
Step-by-Step Instructions
- Dissolve the Sugar:
- Combine brown sugar, water, and butter in a large heavy-bottomed saucepan over medium heat. Stir constantly until the butter completely melts and sugar fully dissolves. This creates the foundation of your caramel sauce, so take your time to ensure there are no sugar granules remaining.
- Achieve Amber Perfection:
- Increase heat to bring mixture to a rolling boil without stirring. Then reduce to a simmer and cook for 5 to 10 minutes until the color deepens to a rich amber. Watch carefully during this stage as the color change indicates caramelization is happening. Too light and your sauce will be too sweet, too dark and it will taste bitter.
- Add Evaporated Milk:
- Remove pan from heat and slowly pour in the evaporated milk while whisking constantly. The mixture will bubble vigorously, so add milk gradually to prevent overflow. Continue whisking until completely smooth. This step creates the silky texture that makes this caramel truly special.
- Incorporate Flavorings:
- Whisk in vanilla extract and add salt to taste. Start with less salt and gradually add more until you reach your desired flavor profile. The vanilla adds depth while salt enhances all the flavors and cuts through the sweetness.
- Cool Properly:
- Transfer to a jar and allow to cool completely at room temperature before refrigerating. The sauce will thicken considerably as it cools, achieving that perfect pourable consistency. Patience is key here as rushing to refrigerate can affect the texture.
 Pin it
Brown sugar is truly the secret ingredient in this recipe. I once tried making it with white sugar in a pinch, and while it was still delicious, it lacked that deep molasses undertone that makes this version so special. My husband actually complained that something was "missing" until I went back to the brown sugar version.
Why Evaporated Milk Works Magic
Evaporated milk creates the perfect texture in this caramel sauce because it has been reduced to remove about 60% of its water content. This concentration gives you a rich, creamy result without needing heavy cream. The proteins in evaporated milk also help stabilize the caramel, preventing separation that can happen with other liquids. I discovered this benefit accidentally when I ran out of cream years ago and have never looked back.
Perfect Pairings
This caramel sauce elevates nearly any dessert it touches. Drizzle it warm over vanilla ice cream for an instant sundae upgrade. Use it as a dipping sauce for apple slices at parties. Swirl it into brownies before baking or drizzle over a slice of plain cheesecake. My family particularly loves it layered in parfait glasses with whipped cream and crushed cookies for an easy but impressive dessert. The versatility of this sauce means you will never run out of ways to use it.
Troubleshooting Tips
If your caramel crystallizes during cooking, add a tablespoon of water and whisk vigorously over low heat until smooth again. This happens when sugar crystals form and can usually be rescued with a bit of patience. Should your sauce seem too thin after cooling completely, you can simmer it for a few additional minutes to reduce further. Conversely, if it becomes too thick in the refrigerator, simply warm it gently with a splash of evaporated milk or cream.
 Pin it
Frequently Asked Questions
- → How long does homemade evaporated milk caramel last?
When stored properly in an airtight container in the refrigerator, this caramel sauce will last for up to 2 weeks. Make sure to let it cool completely before sealing and refrigerating.
- → Can I use regular milk instead of evaporated milk?
Evaporated milk gives this caramel its distinctive richness and texture. While you can substitute regular milk, the sauce won't be as thick or creamy, and you might need to simmer it longer to reduce and thicken.
- → Why did my caramel crystallize?
Crystallization typically happens when sugar crystals form during cooking. To prevent this, avoid stirring once the mixture begins to boil, make sure all sugar is completely dissolved before boiling, and consider adding a teaspoon of corn syrup to the initial mixture.
- → How can I make this caramel thicker or thinner?
For a thicker caramel, use less evaporated milk or simmer the finished sauce a bit longer. For a thinner consistency, add more evaporated milk while the sauce is still warm, or gently warm the finished caramel and stir in additional milk.
- → Can I make this caramel sauce dairy-free?
Yes, you can adapt this recipe using plant-based alternatives. Substitute the butter with vegan butter or coconut oil, and replace the evaporated milk with full-fat coconut milk or a plant-based condensed milk alternative.
- → What desserts pair well with this caramel sauce?
This versatile caramel sauce is delicious drizzled over ice cream, cheesecake, apple pie, bread pudding, brownies, or pancakes. It also makes a wonderful addition to coffee drinks, milkshakes, or as a dip for fresh apple slices.