
 Pin it
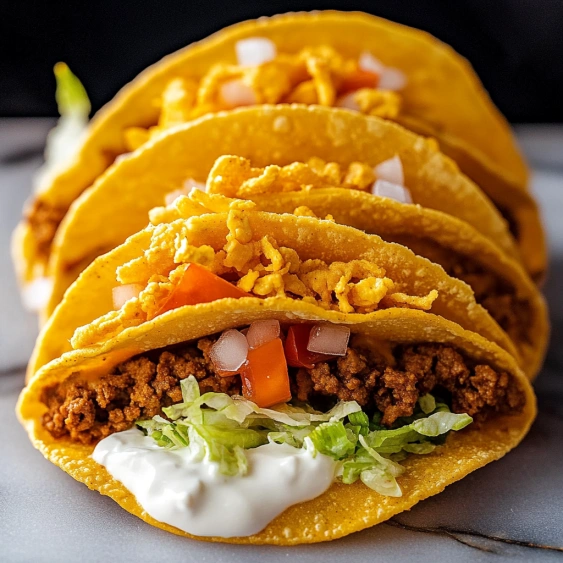
This copycat version of Taco Bell's Chalupa Supreme brings that iconic crispy-yet-soft shell and savory filling right to your kitchen. The homemade shells create that distinctive chalupa texture that perfectly cradles all your favorite taco toppings.
I started making these after my teenage son kept asking for late night Taco Bell runs. Now our homemade chalupa nights have become a Friday tradition where everyone builds their own with their favorite fillings.
Ingredients
- All purpose flour: creates the perfect base for the chalupa shells
- Baking powder: gives the shells their signature light texture
- Whole milk: provides richness to the dough
- Melted butter: adds flavor and helps achieve the golden exterior
- Canola oil: for frying maintains a neutral flavor while creating crispy shells
- Taco meat: seasoned with your favorite spices brings authentic flavor
- Shredded cheese: use a Mexican blend for best melting properties
- Fresh lettuce: adds necessary crunch and freshness
- Sour cream: provides cooling creaminess to balance the spiced meat
- Taco sauce: adds that signature Taco Bell flavor profile
Step-by-Step Instructions
- Prepare the oil:
- Heat about 2 inches of canola oil in a large pot over medium heat. The oil should reach approximately 350°F for optimal frying. Too hot and the shells will burn quickly, too cool and they will absorb excess oil and become greasy.
- Mix the dry ingredients:
- Combine flour, baking powder, and salt in a medium mixing bowl, whisking thoroughly to distribute the leavening evenly throughout the flour mixture. This ensures your chalupa shells will have consistent texture.
- Create the dough:
- Stir in warmed milk and melted butter using a fork until a shaggy dough forms. The warm milk helps activate the baking powder and creates a more pliable dough. Continue mixing until no dry flour remains at the bottom of the bowl.
- Knead the dough:
- Turn the dough onto a lightly floured surface and knead for about a minute until mostly smooth. The dough should feel tacky but not stick to your hands. Proper kneading develops the gluten which gives the shells their characteristic chew.
- Portion and shape:
- Cut the dough into 8 equal pieces and roll each into a ball. This creates uniformly sized chalupas. Use your palms to create smooth balls without cracks or seams.
- Roll out the dough:
- Use a rolling pin to gently roll each dough ball into a circle about 6 inches wide and 1/8 inch thick. Roll from the center outward in all directions for even thickness. Too thick and they will not cook through, too thin and they will tear easily.
- Fry the shells:
- Add one dough circle to the hot oil, cooking each side for about 5 seconds to set the shape. Then use tongs to carefully fold it in half, holding one half in the oil for 1-2 minutes until golden, then flipping to fry the other half. Watch carefully as they can go from perfect to burnt quickly.
- Shape while warm:
- Remove the fried chalupa and hang it over a wooden spoon handle placed across a bowl. This forms the signature chalupa shell shape as it cools and firms up. The shells are malleable for only a few seconds after coming out of the oil.
- Drain and prep remaining shells:
- Transfer the shaped shell to a paper towel lined plate to absorb excess oil while you continue with the remaining dough. Adjust your heat as needed if the shells are cooking too quickly.
- Assemble and serve:
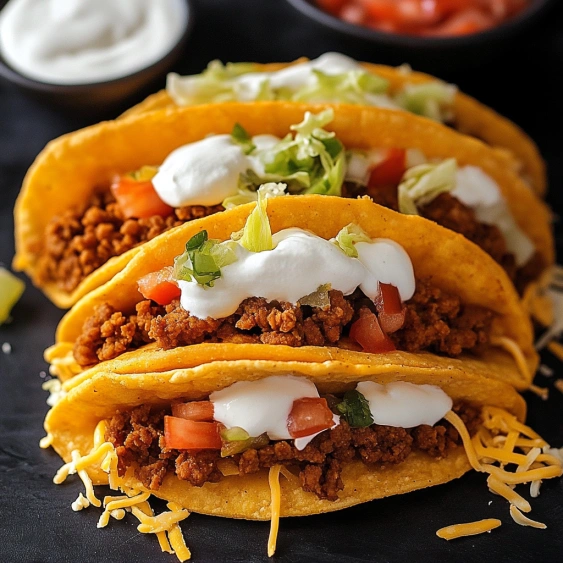
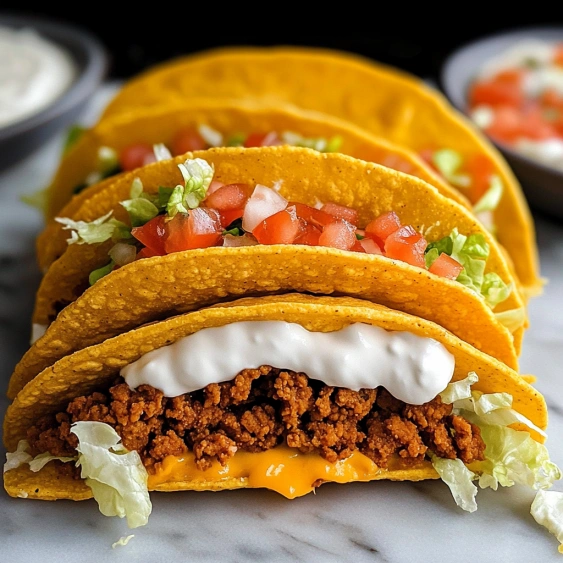
- Fill each chalupa shell with seasoned taco meat, then layer with shredded cheese, lettuce, sour cream, diced tomatoes, and taco sauce. Serve immediately while the shells are still crisp and the fillings are fresh.
 Pin it
My favorite part of this recipe is watching everyone's eyes light up when they bite into that perfect combination of crispy shell and soft interior. My daughter always insists on extra cheese while my husband doubles up on the hot sauce. These chalupas have somehow become our special occasion meal even though they're so simple to make.
Storing Leftovers
The chalupa shells will remain crisp for about 4 hours after frying if left at room temperature. For longer storage, place cooled unfilled shells in an airtight container with parchment paper between layers. They will keep at room temperature for up to 2 days, though they will soften slightly. To restore crispness, place shells in a 350°F oven for 3-5 minutes before filling.
 Pin it
Make It Your Own
While this recipe creates an authentic Taco Bell copycat experience, you can easily customize it to suit your preferences or dietary needs. For a healthier version, try baking the chalupa shells instead of frying. Brush both sides with oil and bake at 400°F for 5-7 minutes, then shape them over a rolling pin while still warm.
The History Behind Chalupas
Traditional chalupas originated in south-central Mexico, particularly in Puebla, where they were typically small, thick, boat-shaped tortillas with raised edges to hold toppings. Taco Bell introduced their version in 1999, featuring a fried flatbread rather than a corn tortilla base, creating what became one of their most popular menu items.
Frequently Asked Questions
- → What's the difference between a chalupa and a taco?
A chalupa features a thick, fried flatbread shell that's soft yet crispy, while a traditional taco uses either a crispy corn shell or soft flour tortilla. Chalupas are puffy, boat-shaped, and made from a flour-based dough similar to fry bread rather than a simple tortilla.
- → How do I know when the oil is the right temperature for frying chalupa shells?
The oil should be around 350-375°F. If you don't have a thermometer, test with a small piece of dough—it should sizzle and rise to the surface quickly without burning. If shells cook faster than 1 minute per side, the oil is too hot and you should reduce the heat.
- → Can I make the chalupa shells ahead of time?
Yes, you can prepare the shells a few hours ahead of time. Store them at room temperature in a single layer or with parchment paper between layers. To refresh them before serving, place in a 350°F oven for 2-3 minutes to restore crispness.
- → What's the best way to shape the chalupa shells?
After initial frying and folding, hang the still-warm shells over a wooden spoon handle positioned across a bowl. This creates the authentic boat shape as they cool and firm up. The shells are malleable for only a short time after frying, so work quickly.
- → Can I use pre-made dough instead of making it from scratch?
While homemade dough yields the most authentic results, you could substitute refrigerated pizza dough in a pinch. Roll it thin and follow the same frying instructions. The texture will be different but still enjoyable. Avoid tortillas, as they won't achieve the characteristic puffy texture.
- → What alternatives can I use for the taco meat filling?
Chalupas are versatile! Try ground chicken or turkey seasoned with taco spices, shredded beef or chicken, or plant-based meat alternatives. For vegetarian options, seasoned black beans, refried beans, or roasted vegetables make excellent fillings while maintaining the authentic chalupa experience.