
 Pin it
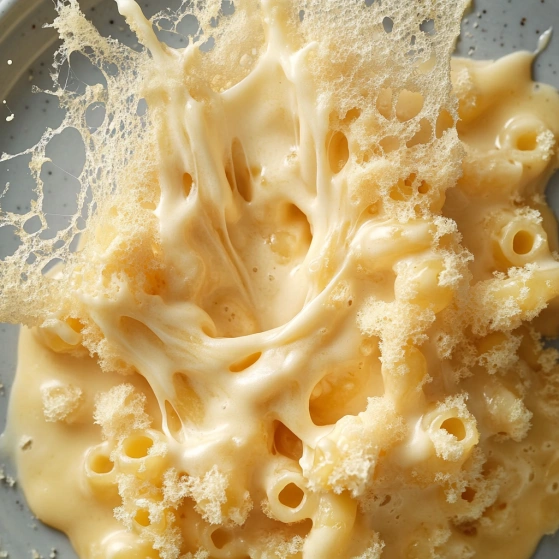
This evaporated milk mac and cheese transforms pantry staples into the creamiest, most indulgent comfort food you'll ever make. The secret lies in using evaporated milk which creates an incredibly silky texture without requiring a complicated roux base that often intimidates home cooks.
I discovered this method during a snowstorm when fresh milk wasn't available. My family now requests it over my traditional mac and cheese recipe that took years to perfect they call it "velvet mac" because of its luxurious mouthfeel.
Ingredients
- Elbow pasta: Two cups creates the perfect ratio of sauce to pasta providing ideal pockets for the cheese sauce to cling to
- Evaporated milk: One 12oz can delivers concentrated dairy flavor and unmatched creaminess without diluting the cheese flavor
- Sharp cheddar cheese: Two cups freshly grated from a block rather than pre shredded offers superior melting qualities and authentic cheese flavor
- Cornstarch: Acts as the perfect thickening agent without requiring a flour based roux
- Butter: Adds richness and prevents pasta from sticking while enhancing the sauce's velvety texture
- Garlic powder: Provides subtle depth without overpowering the cheese flavor use fresh if you prefer a stronger garlic note
- Breadcrumb topping: Creates the perfect textural contrast to the creamy pasta beneath with a satisfying buttery crunch
Step-by-Step Instructions
- Preheat Oven:
- Set your oven to 357°F while preparing your 1quart casserole dish with a light butter coating. This temperature creates the perfect environment for the mac and cheese to set without drying out while allowing the topping to become golden.
- Make Topping:
- Combine breadcrumbs with melted butter and salt until every crumb is coated. This ensures even browning and prevents dry spots. The topping should resemble wet sand when properly mixed.
- Cook Pasta:
- Boil pasta for exactly 2 minutes less than package directions in well salted water. This undercooking is crucial as the pasta will continue cooking in the oven preventing a mushy final texture.
- Drain and Toss:
- Return drained pasta to the pot and immediately add butter. Stir until completely melted which creates a protective coating on each pasta piece preventing them from clumping together.
- Cook Sauce:
- Whisk cornstarch with seasonings before adding evaporated milk water and butter. The key is constant stirring over medium high heat until the mixture reaches a full boil. Continue boiling for exactly 45 seconds to activate the cornstarch which transforms the liquid into a silky base.
- Add Cheese:
- Remove from heat before adding cheese which prevents the proteins from seizing and becoming grainy. Stir gently until most but not all cheese has melted as residual heat will complete the process while maintaining maximum creaminess.
- Bake:
- Transfer the mixture to your prepared dish sprinkle with breadcrumb topping and bake for 20 to 25 minutes. Watch for golden edges which indicate the perfect doneness. For extra color a brief broil creates an irresistible crust.
- Serve:
- Allow to rest for 10 minutes before serving which lets the sauce set to the perfect consistency rather than running all over the plate.
 Pin it
The evaporated milk is truly the star ingredient here. I discovered its magic after my grandmother shared her depression era recipe cards with me. She explained how during times when fresh milk was scarce concentrated canned milk became the secret to creating dishes that tasted rich even when times were lean.
Making Ahead
This mac and cheese can be fully assembled up to the baking step and refrigerated for up to 48 hours. Simply cover tightly with foil and add 10 minutes to the baking time when cooking from cold. The sauce may appear slightly thicker after refrigeration but will return to perfect creaminess during baking.
Cheese Variations
While sharp cheddar provides classic flavor consider exploring different cheese combinations. A mixture of 1.5 cups cheddar with 0.5 cups gruyère adds sophisticated nuttiness. For heat lovers pepper jack can replace up to half the cheddar. Always grate from blocks rather than using pre shredded which contains anti caking agents that prevent proper melting.
 Pin it
Serving Suggestions
This mac and cheese pairs beautifully with acidic contrasts like a simple vinaigrette dressed arugula salad or roasted tomatoes. For a complete meal serve alongside grilled chicken or roasted vegetables. For elegant entertaining individual ramekins create impressive presentation while controlling portions.
The History Behind Evaporated Milk
Evaporated milk gained popularity during the early 1900s before widespread refrigeration when shelf stable dairy products were essential. Originally marketed as a nutrition booster home cooks quickly discovered its remarkable ability to create creamier textures in everything from pies to pasta dishes. This recipe honors that practical innovation while delivering modern comfort food perfection.
Frequently Asked Questions
- → Why use evaporated milk in mac and cheese?
Evaporated milk creates an extra creamy texture because it contains less water than regular milk. The concentrated milk proteins help create a smooth, velvety sauce without needing to make a traditional flour-based roux, simplifying the process while delivering rich results.
- → Can I use different types of cheese?
Absolutely! While sharp cheddar provides classic flavor, you can experiment with combinations like Gruyère, Monterey Jack, Colby, or smoked Gouda. For best results, use freshly shredded cheese rather than pre-packaged shredded cheese, which contains anti-caking agents that can affect melting quality.
- → Is the breadcrumb topping necessary?
The breadcrumb topping is optional but adds wonderful textural contrast with its crispy, buttery crunch against the creamy pasta. If you prefer, you can skip it entirely or substitute with extra shredded cheese on top for a gooey, cheesy crust instead.
- → Why cook the pasta for less time than package directions?
Cooking the pasta for 2 minutes less than package directions ensures it remains slightly firm (al dente) before baking. This prevents the pasta from becoming mushy in the oven, as it will continue cooking in the hot cheese sauce during baking.
- → Can I make this dish ahead of time?
Yes! You can prepare the mac and cheese up to the point of baking, then refrigerate covered for up to 24 hours. When ready to serve, add the breadcrumb topping and bake, adding 5-10 minutes to the baking time since you're starting with a cold dish.
- → What's the purpose of the cornstarch in this recipe?
Cornstarch acts as a thickening agent for the sauce, creating a smooth, velvety texture without needing to make a traditional flour-based roux. When activated by heat, it thickens the evaporated milk mixture to perfectly coat the pasta.