
 Pin it
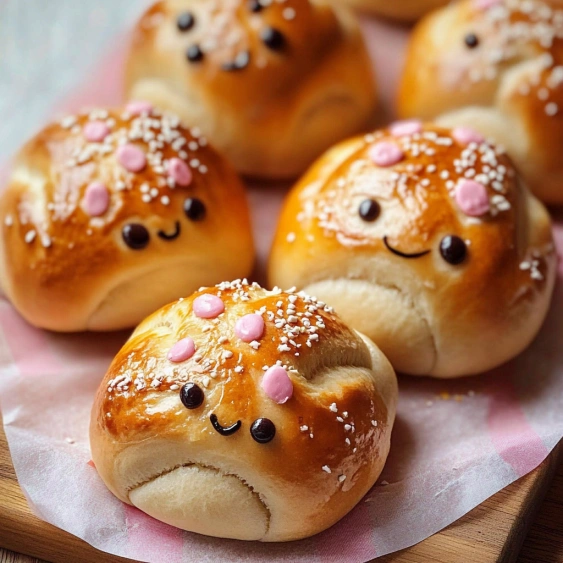
These adorable Easter bunny buns transform a simple dough into festive treats your family will adore. They require just three basic ingredients and minimal shaping skills, making them perfect for baking with children during holiday celebrations.
I originally made these with my niece who was visiting during spring break. Her excitement when she saw the little bunny faces emerge from the oven convinced me this would become our annual Easter tradition.
Ingredients
- Self rising flour: Provides the perfect rise without the need for separate leavening agents
- Plain yogurt: Adds moisture and a subtle tang that balances beautifully with sweet toppings
- Salt: Enhances the flavor and balances the slight acidity from the yogurt
- Butter for greasing: Prevents sticking and adds a lovely golden crust
- Optional melted butter for brushing: Creates a beautiful shine and richer flavor
- Edible markers: Allow for creative decorating that children especially enjoy
Step-by-Step Instructions
- Prepare the Oven and Mix Dough:
- Heat your oven to 180°C or 360°F to ensure proper baking temperature. In a medium mixing bowl, combine the yogurt, self rising flour, and salt, stirring until everything comes together into a cohesive dough. The mixture should pull away from the sides of the bowl but remain slightly tacky. Add an extra tablespoon of flour if the dough feels too sticky to handle.
- Portion and Shape the Bunnies:
- Divide your dough into 6 equal portions, roughly 70g each for consistency. From each portion, take about 45g to roll into a ball for the bunny face. Use the remaining dough from each portion to create two smaller balls about 12g each. Shape these smaller portions into slight oval shapes to form the ears. The proportions are important for creating recognizable bunny shapes.
- Arrange in Baking Dish:
- Generously butter a large oven safe dish to prevent sticking. Place the larger dough balls with enough space between them for expansion during baking. Position the ear shapes against the sides of each face ball, making sure they touch the main dough ball to ensure they attach during baking. The connection point is crucial for the final appearance.
- Bake to Golden Perfection:
- For extra richness, brush the tops with melted butter before baking. Place the dish in the preheated oven and bake for approximately 20 minutes until the buns have risen and turned a lovely golden brown. The tops should feel firm to the touch and sound hollow when tapped. Serve while still warm for the best texture and flavor.
 Pin it
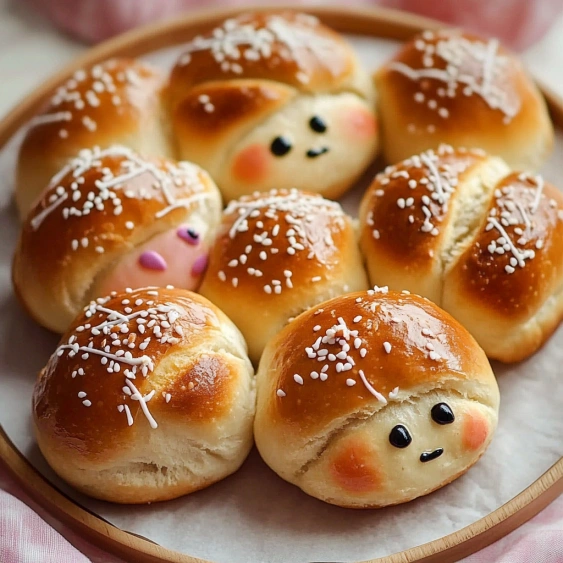
The self rising flour is truly the magic ingredient in this recipe. I discovered its versatility when making quick breads and realized it would work beautifully for these Easter buns. The chemical leaveners in the flour activate with the moisture from the yogurt, creating a wonderfully soft texture without any complicated steps.
Serving Suggestions
These bunny buns taste delicious served warm with a spread of butter and honey for a sweet option. For a more festive touch, try cream cheese mixed with a little powdered sugar. The neutral flavor profile of these buns means they pair beautifully with both sweet and savory accompaniments, making them versatile for your Easter table.
Storage Tips
Store any leftover buns in an airtight container at room temperature for up to two days. For longer storage, place them in the refrigerator where they will stay fresh for up to five days. To reheat, wrap in a slightly damp paper towel and microwave for 15 to 20 seconds or warm in a 300°F oven for about 5 minutes until heated through.
Creative Variations
While the bunny shape is perfect for Easter, this versatile dough can be formed into various shapes for different occasions. Try round buns with cinnamon sugar for a sweet treat, or add herbs and cheese to the dough for a savory option. During other holidays, adapt the shapes to create snowmen in winter or pumpkins for autumn celebrations.
Baking with Children
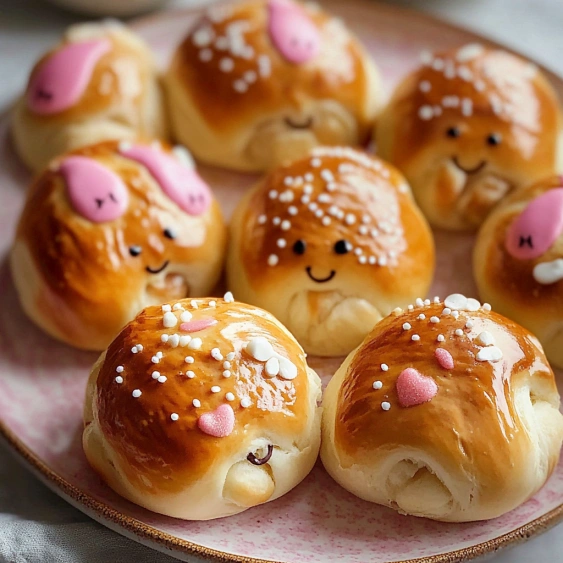
This recipe provides an excellent opportunity to involve children in baking. The simple mixing process and forgiving dough allow little hands to help with measuring and shaping. Drawing faces on the baked buns with edible markers becomes a fun artistic activity that enhances the connection between food preparation and enjoyment.
 Pin it
Frequently Asked Questions
- → Can I use Greek yogurt instead of plain yogurt?
Yes, Greek yogurt works well as a substitute for plain yogurt. The dough might be slightly thicker, so you may need to adjust the flour amount accordingly. Start with a little less flour and add more as needed until you achieve a workable dough consistency.
- → How do I make self-rising flour if I don't have any?
To make self-rising flour at home, combine 1 cup (150g) all-purpose flour with 1½ teaspoons baking powder and ¼ teaspoon salt. Whisk thoroughly to ensure even distribution before using in this recipe.
- → Can I make these buns ahead of time?
Yes, you can prepare these buns a day ahead. Once cooled completely, store them in an airtight container at room temperature. To refresh before serving, warm them briefly in a 150°C (300°F) oven for 5-7 minutes. Add any decorative faces with edible markers just before serving.
- → What can I use if I don't have edible markers?
If edible markers aren't available, you have several alternatives. Try making eyes and features with small pieces of chocolate, raisins, dried cranberries, or tiny dabs of chocolate frosting. You can also mix powdered sugar with a few drops of food coloring and water to create a colored glaze for decorating.
- → Can I add flavors to the dough?
Absolutely! Enhance the dough with 1-2 teaspoons of vanilla extract, a tablespoon of honey, or 2 teaspoons of citrus zest. For slightly sweeter buns, add 1-2 tablespoons of sugar to the dry ingredients. You could also incorporate spices like cinnamon or cardamom (½ teaspoon) for additional flavor depth.
- → How do I know when the buns are properly baked?
The buns are done when they've turned golden brown on top and sound hollow when tapped on the bottom. If you're uncertain, you can insert a toothpick into the center of a bun - it should come out clean or with a few moist crumbs, but not with wet dough.