
 Pin it
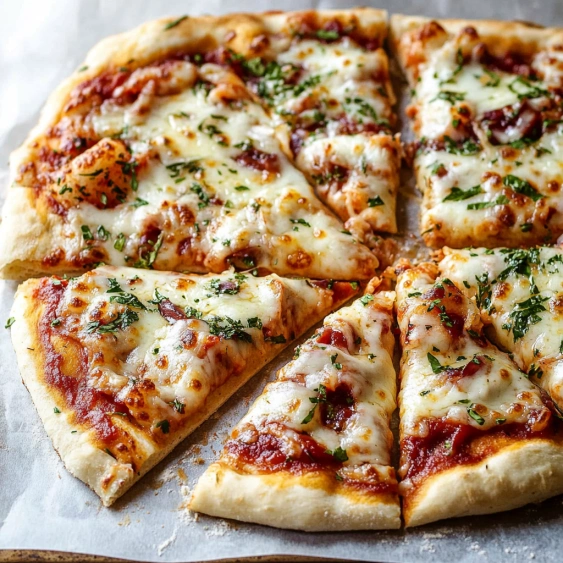
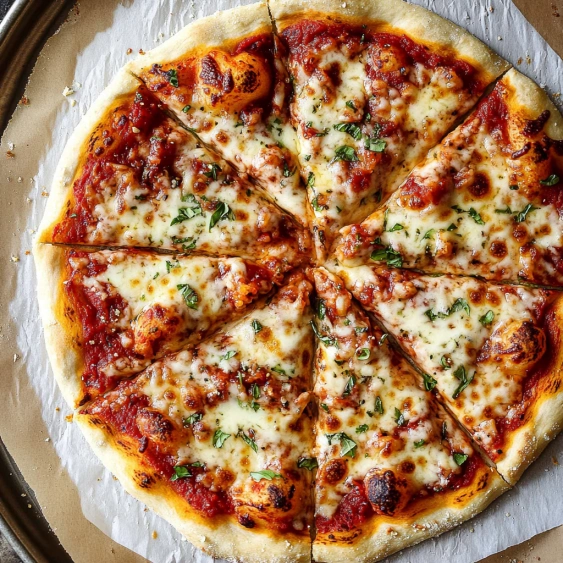
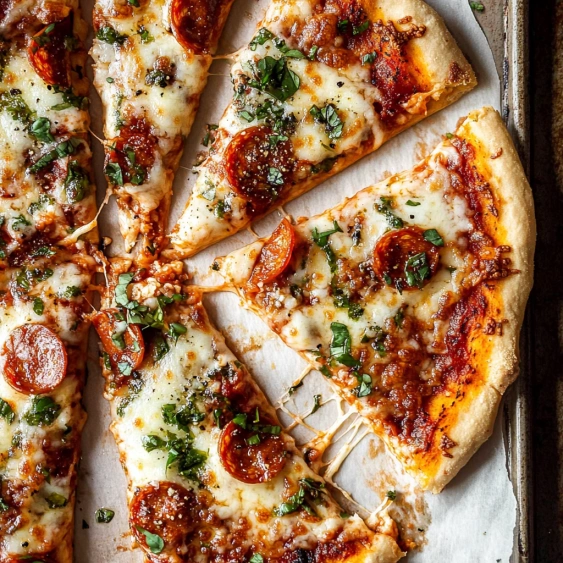
This homemade pizza crust recipe transforms your kitchen into the best pizzeria in town, delivering that perfect balance of chewy interior and crispy exterior that store-bought dough simply can't match.
I developed this recipe after years of disappointing takeout pizzas that arrived soggy and overpriced. My teenage son now requests homemade pizza every Friday night, claiming it beats anything we could order in.
Ingredients
- Warm water: Activates the yeast properly 105-110°F is the perfect temperature for yeast activity without killing it
- Active dry yeast: The workhorse of your dough provides that distinctive pizza flavor and perfect rise
- Sugar: Feeds the yeast and helps achieve a golden brown crust when baking
- Salt: Enhances flavor and strengthens the gluten structure for better texture
- Olive oil: Creates a more tender crust and adds subtle flavor
- Unbleached all-purpose flour: The foundation of your dough look for a high-quality brand with moderate protein content
- Cornmeal: Prevents sticking and adds a pleasant crunch to the bottom crust
- Garlic salt: A simple flavor enhancer that makes plain crust irresistible
Step-by-Step Instructions
- Activate the yeast:
- Combine warm water, sugar and yeast in your stand mixer bowl. Allow it to rest for 5-10 minutes until foamy and fragrant. This step confirms your yeast is alive and ready to work its magic. If no foam appears, your yeast may be old or your water temperature incorrect.
- Create the base dough:
- Add olive oil, salt, and 1½ cups flour to the yeast mixture. Mix with the hook attachment until completely combined. The mixture will look shaggy and wet at this stage, which is exactly what you want.
- Develop the gluten:
- Gradually incorporate 2 more cups of flour until the dough begins pulling away from the bowl sides. The dough should feel tacky but not overly sticky. In humid environments, you may need additional tablespoons of flour. Knead for a full 5 minutes to develop strong gluten structure.
- First rise:
- Shape dough into a ball and place in an oiled bowl, turning to coat all surfaces. Cover tightly with plastic wrap and allow to rise in a warm spot until doubled, approximately 1-2 hours. This slow fermentation develops complex flavors.
- Preheat thoroughly:
- About 15 minutes before dough is ready, place your pizza stone or baking sheet in the oven and preheat to either 475°F for standard crust or 550°F for thin crust. This long preheat ensures your cooking surface reaches proper temperature.
- Divide and rest:
- Divide risen dough into two balls for normal crust or three for thin crust. Cover with plastic wrap and a towel for 15 minutes. This rest period allows the gluten to relax, making the dough easier to shape.
- Shape the crust:
- Roll each ball on a lightly floured surface into a 12-inch circle. Maintain even thickness throughout with slightly thicker edges. The dough should stretch easily without springing back.
- Prepare for baking:
- Carefully remove the hot stone or pan from the oven. Generously oil the surface and sprinkle with cornmeal. This creates a nonstick barrier and adds texture to the bottom crust.
- Transfer and finish:
- Move dough to the prepared surface, pinching edges to form a rimmed crust. Brush with olive oil and sprinkle with garlic salt. Prick several holes with a fork to prevent bubbling. Add sauce and toppings as desired.
- Bake to perfection:
- For normal crust bake at 475°F for 12 minutes then broil for 2 minutes. For thin crust bake at 550°F for 8-10 minutes. Look for a golden crust and bubbling cheese as your doneness indicators.
 Pin it
The secret ingredient in this recipe is patience. When I first started making homemade pizza, I rushed the process and ended up with tough, bland crusts. Now I understand that giving the dough proper time to rise and rest creates those beautiful air pockets and complex flavors that make homemade pizza special.
Make-Ahead Options
This dough actually improves with time. After dividing into balls, you can refrigerate them for up to 24 hours in individual zip-top bags. The slow, cold fermentation develops deeper flavor compounds similar to sourdough. Let refrigerated dough come to room temperature for 30 minutes before shaping. For longer storage, freeze dough balls after the first rise. Wrap each tightly in plastic and place in freezer bags for up to 3 months. Thaw overnight in the refrigerator before using.
Troubleshooting Common Issues
Dough that refuses to stretch often needs more rest time. If it keeps springing back when rolling, cover it and wait 10 minutes before trying again. Too much flour makes dry, tough crust while too little creates sticky dough that's impossible to handle. The perfect dough should feel tacky but not stick to your clean hands. If your bottom crust stays pale and soft, your stone or pan wasn't hot enough before adding the dough. Always preheat for at least 30 minutes.
Flavor Variations
Transform this basic dough into something special with simple additions. Knead 1 tablespoon of dried herbs like oregano, basil, or Italian seasoning into the dough for an aromatic crust. Replace ¼ cup of all-purpose flour with cornmeal for extra crunch and flavor. For a deeper color and slight sweetness, substitute honey for the sugar. Brush the outer crust with garlic butter instead of plain olive oil before baking for an irresistible finish.
 Pin it
Frequently Asked Questions
- → Can I freeze this pizza dough?
Yes, you can freeze this pizza dough after dividing it into balls. Wrap each ball tightly in plastic wrap, then place in a freezer bag. Freeze for up to 3 months. When ready to use, thaw in the refrigerator overnight, then let come to room temperature before rolling out.
- → Why do I need to preheat my pizza stone or baking sheet?
Preheating your pizza stone or baking sheet is crucial for achieving a crispy bottom crust. The hot surface immediately starts cooking the bottom of the dough, preventing sogginess and creating that desirable texture contrast between crisp exterior and chewy interior.
- → What's the difference between baking at 475°F versus 550°F?
The temperature determines the style of crust you'll get. The lower 475°F temperature creates a standard pizza crust with more chew and bread-like texture. The higher 550°F temperature is ideal for thin, crispy crusts like Margherita style pizzas, mimicking the high-heat conditions of traditional pizza ovens.
- → Why do I need to prick the dough with a fork?
Pricking the dough with a fork (docking) prevents large air bubbles from forming during baking. Without docking, the dough can puff up unevenly and create bubbles that char quickly or make topping distribution uneven.
- → What if my dough is too sticky?
If your dough is too sticky, gradually add more flour one tablespoon at a time. The right consistency is when the dough pulls away from the sides of the bowl and barely sticks to your fingers. Humidity levels can affect flour absorption, so you may need more flour in humid environments.
- → How many pizzas does this recipe make?
This recipe makes enough dough for either two regular-thickness pizzas or three thin-crust pizzas, each approximately 12 inches in diameter. You can freeze any unused dough portions for later use.